5.6 KiB
Gitea
A beautiful self-hosted non-commercial git server. Small but powerful. A better alternative to the monoliths of Github & Gitlab.
- Get set up with these instructions on hosting a gitea server using a raspberry pi
Scripting migrations: If you have a lot of repositories to migrate, it may be easier to write a script to migrate them.
The easiest way to go about this would be to use the Gitea API to create a blank repository, and then use the Git command line to clone repositories from your existing service into Gitea:
git clone --mirror «url to old repository»
git remote set-url origin «url to new gitea repository»
git push --mirror origin
Customizing your Gitea:
- Create a README.md to [your profile](1. https://docs.gitea.com/next/usage/profile-readme)
- create a git profile called
.profile - then add a single markdown file to the repo
- this will be displayed on your page
- create a git profile called
- To change the front page of the Gitea server, head here for instructions.
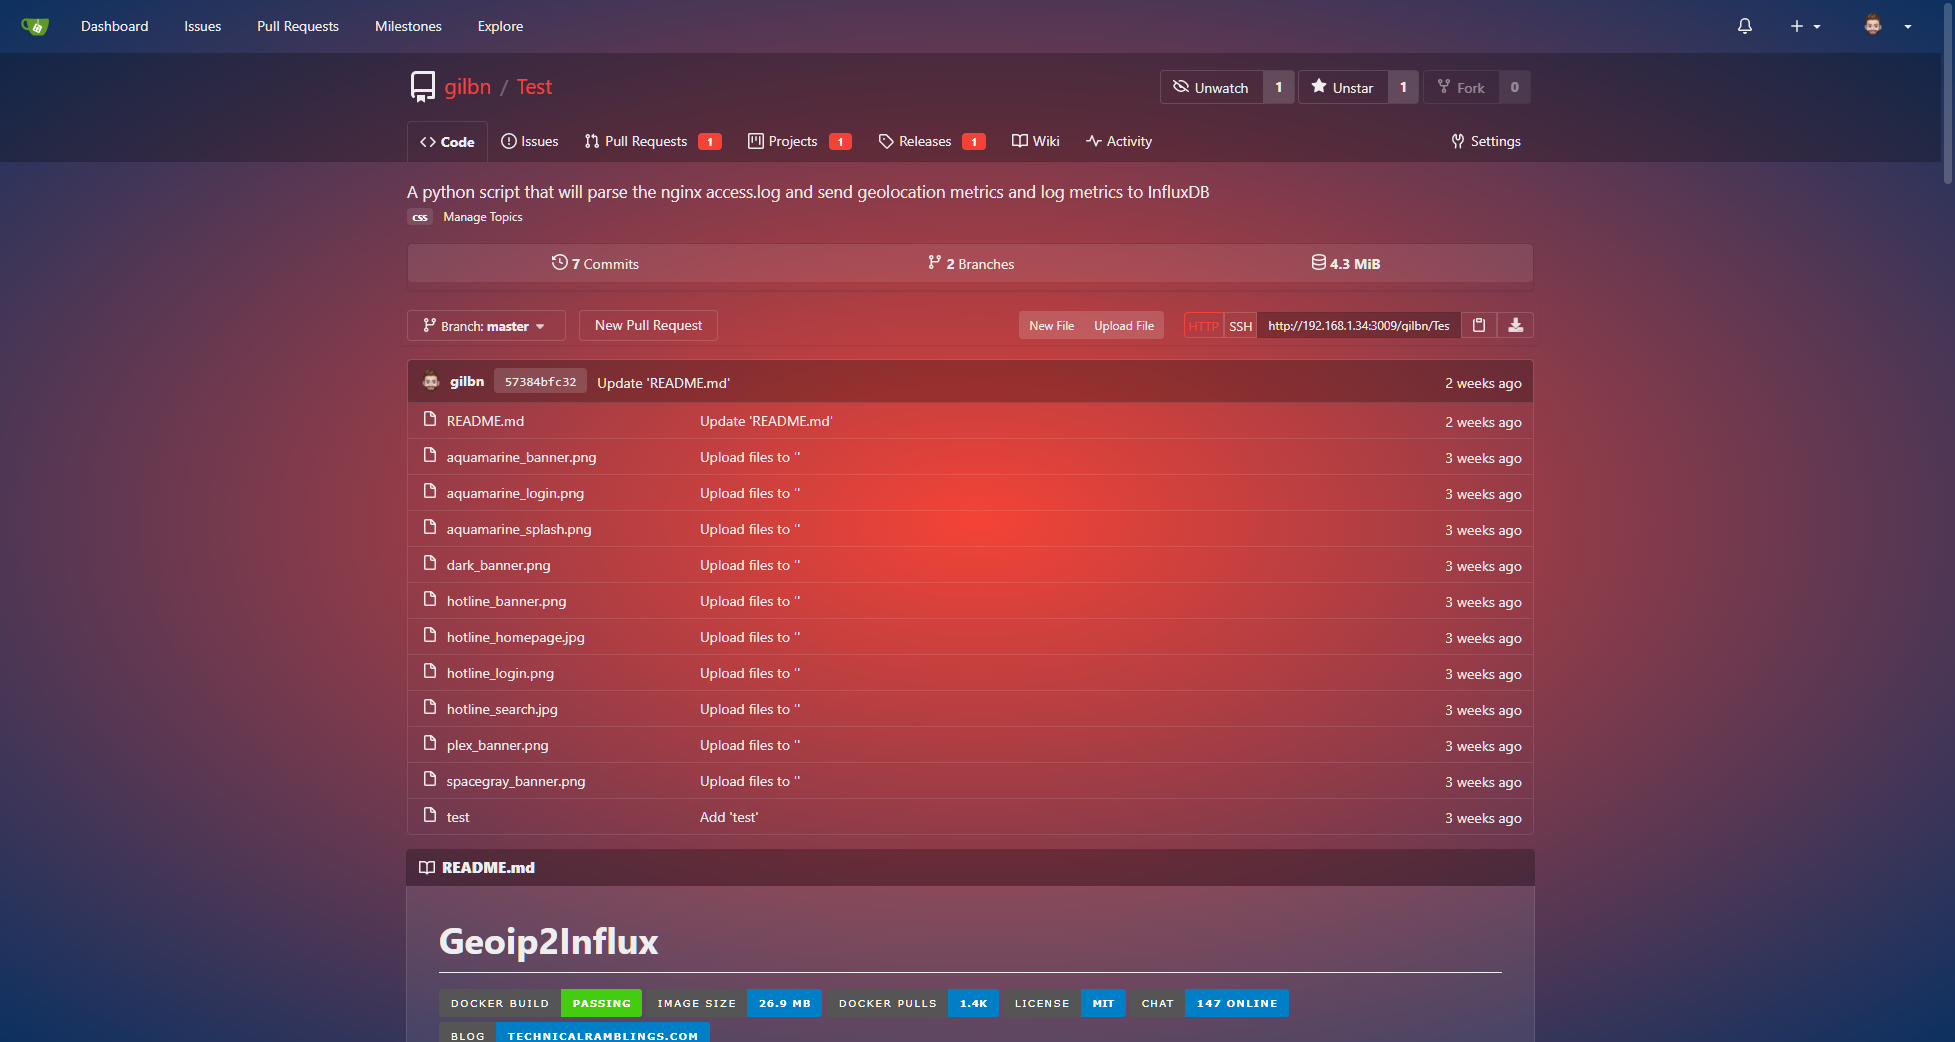
- One theme that i like is Cattppuccin! :3 it's really cute. Example
- !

- The entire config cheat sheet is located here.
- The Awesome Gitea Repo for more updates
- For Gitea Pages it is suggested to use Caddy or Codeberg Pages Server
- Adding Themes to Gitea
- Full instructions are found here
Installing the Gitea Server
There are numerous ways you can install Gitea on your machine but don't get overwhelmed by the choices. Just choose what is easiest for you to get started and you can optimize afterwards.
For me, since I'm currently on a Macbook it will be easiest to do a MacPorts install but perhaps I'll switch it over to be a Linux install at some point later.
- Go to MacPorts, Click your Apple flavor, and download + install the .pkg (no fancy CLI needed for this step!)
- Using Homebrew, install Gitea on your laptop!
- Now go to Linode to set up your server with Alpine Linux.
- Set up steps in this video and create a node
- SSH into the root IP
- Push a test repo and there we have it! You set up your gitea :)
!

Gitea Server details
- Site: Shwetha-Base : my self-hosted gitea server
- Path: /var/lib/gitea/data/gitea-repositories
- Run as username: msgit
- Server domain: 172.104.8.87
- Gitea base url: http://172.104.8.87:3000/
- log path:/var/lib/gitea/log
- server port and listening port - 22,3000
Using Gitea Server
Linode
To start the server:
systemctl start gitea.service
Caddy:
Using the gitea server with Caddy: -->add the following server block to your Caddyfile
git.example.com {
reverse_proxy localhost:3000
}
For Caddy with a subpath: In case you already have a site, and you want Gitea to share the domain name, you can setup Caddy to serve Gitea under a sub-path by adding the following to your server block in your Caddyfile:
git.example.com { route /git/* { uri strip_prefix /git reverse_proxy localhost:3000 }}
Then set [server] ROOT_URL = http://git.example.com/git/ in your configuration.
For instructions on syncing your Obsidian vault to your gitea server, head to Obsidian-git sync tutorial.
More references:
- Migrate from github/gitlab to gitea
- Similar to github pages but for gitea
- Gitea for many user databases
- Gitea is highly customizeable. Here is a key of all its configs
- Using gitea with Jenkins
- A self-hosting cloud tutorial
- You can also run gitea on cloudron
- Installing gitea onto raspberry pi
- A gitpod instance of gitea
- gitpod is just an automated dev environment - think of it as a pre-build
- Disaster recovery for Gitea - Gitea’s repository mirroring makes it relatively easy to replicate critical Git repositories so that teams can still work at minimal capacity until the production environment is back up and running.
- For more information, read here.
- themes
- Hotline

- HotPink ![img2(https://docs.theme-park.dev/site_assets/gitea/hotpink.png)